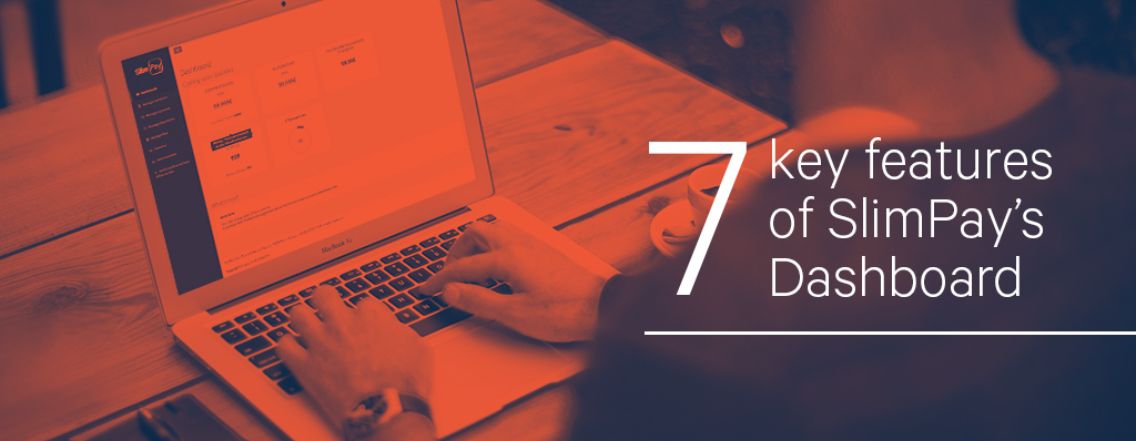
Our dashboard enables SlimPay customers to obtain a global overview of both direct debit and card payments: balance at time X, available funds, transfers/refunds in progress, number of signed orders, number of rejected transactions.
Here are 7 key features of SlimPay’s Dashboard to optimise direct debit management!
1. Mandate management
The most important document concerning a SEPA direct debit is the mandate. With the “Autorisation” feature, you can find and manage any mandate, regardless of how it was signed: electronically, imported paper mandate, telephone, directly on the site.
You can easily search for mandates. A search can be carried out via the “Customer Reference”, which is very handy since it is the same reference used in your CRM tool. You can also filter your mandates per date, as well as per status. Once the mandate has been found you can update it (eg: the bank details), revoke it or send it to the customer, but also download the mandate in PDF. Learn more
2. Enter a direct debit or payment schedule
In the ” Plans” tab you can manage a payment schedule (several direct debits) and also change the amount, frequency and period of the direct debits. As well as filter by date, status, frequency… each direct debit is linked to a plan. Learn more
3. Monitoring
In the “Monitoring” tab presents a view of your balance and also a reporting feature. You can create a downloadable csv. report listing all the transactions for any given period, very useful for the accounting department. It is from this section that you will be able to transfer funds from your SlimPay account to your merchant account.
4. Manage r-transactions (failed payments)
An r-transaction is a failed direct debit payment. Every failed payment is assigned an r-transaction code that corresponds to the reason for the failure. Certain types of r-transactions can be retried.
Within the “Payments” tab you can filter your failed transactions onto the status “rejected” and order a new attempt by clicking on “Reply”.
5. Data Export
All Dashboard sections have an “export” button which allows to obtain data in csv file ( format constituted by dot, comma separator ). The possibilities are many and varied since you can filter your export based on the operation ( direct debit, card, mandate…), the date or the page number.
6. Sign a mandate by email or by operator
In the “Orders” tab there is a very useful feature that allows your clients to Sign a Mandate by “Sending a Link”(e.g. prospection campaigns), or by delegation ( e.g. by delegating the signature to a teleoperator).
In the first case, the feature “sign by link” allows to send a link via email in order to sign his mandate following a telephone appointment meeting for example.
While in the second case, the feature “sign by delegation” makes it possible to have a customer sign over the telephone. The operator fills in the information that the customer tells him over the phone in order to correctly fill in the necessary fields, and the exchanges are secured thanks to a SMS code (One Time Password) that the customer will have received on his phone. To learn more, check out our Help Center!
7. Managing subscribers
In the “Subscribers” section, you can access all your subscribers, check mandates, payments, and schedules, linked to the subscriber.
This section brings together in one single place all the useful information you need when it comes to your users!
Find more information on our Help Center!


